This project is 100% AI-free. All code including this README has been written by me or with the help of other humans.
This is a self-hostable proxy for google.com, which blocks trackers, ads and AI overviews. It also hides your user agent and IP address. Google will still see your server's IP, so it is recommended to host it on a VPS rather than your own home server.
First of all, this proxy runs mostly on the client side. Your server only loads the initial HTML page using curl, and the rest happens in your browser. No complex crawlers or headless browsers are used.
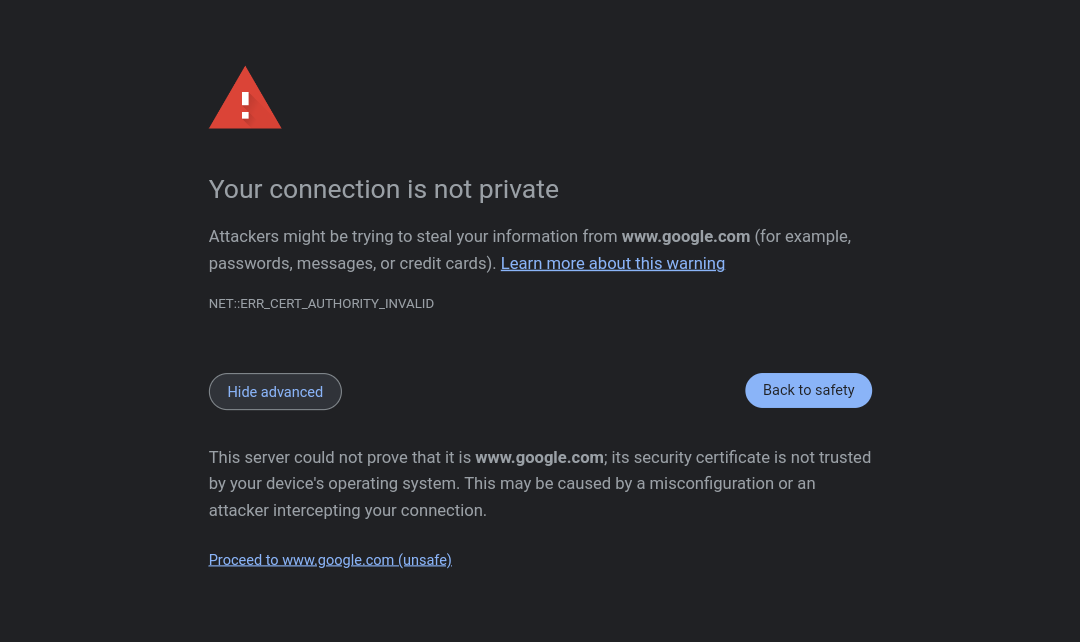
Also, it focuses on using DNS rewrites. If you use a DNS service like NextDNS or Pi-hole, you can point www.google.com to your server's IP using a DNS rewrite, and it will always open your proxied page when you go to Google! (An HTTPS warning will appear for this, but keep reading to solve it)
Note: First make sure that you have the latest version of nginx-full, and php-fpm and composer is installed. The default config (conf/nginx/google.conf) also assumes that php-fpm runs on 127.0.0.1:9000. Edit it if needed.
- Clone this repo:
git clone https://github.com/IsHacker003/gsearch_proxy && cd gsearch_proxy
- Replace the root directory in the config with current directory, and copy it into
/etc/nginx/sites-enabled:
sed -i -e 's#/usr/share/nginx/html/google#'$(pwd)'#g' conf/nginx/google.conf
cp conf/nginx/google.conf /etc/nginx/sites-enabled
- Restart nginx
Done! Now your proxy is running. Now you need to set up the DNS rewrite.
Here I will only show the steps for NextDNS and Pi-hole, as I have not used any other DNS services.
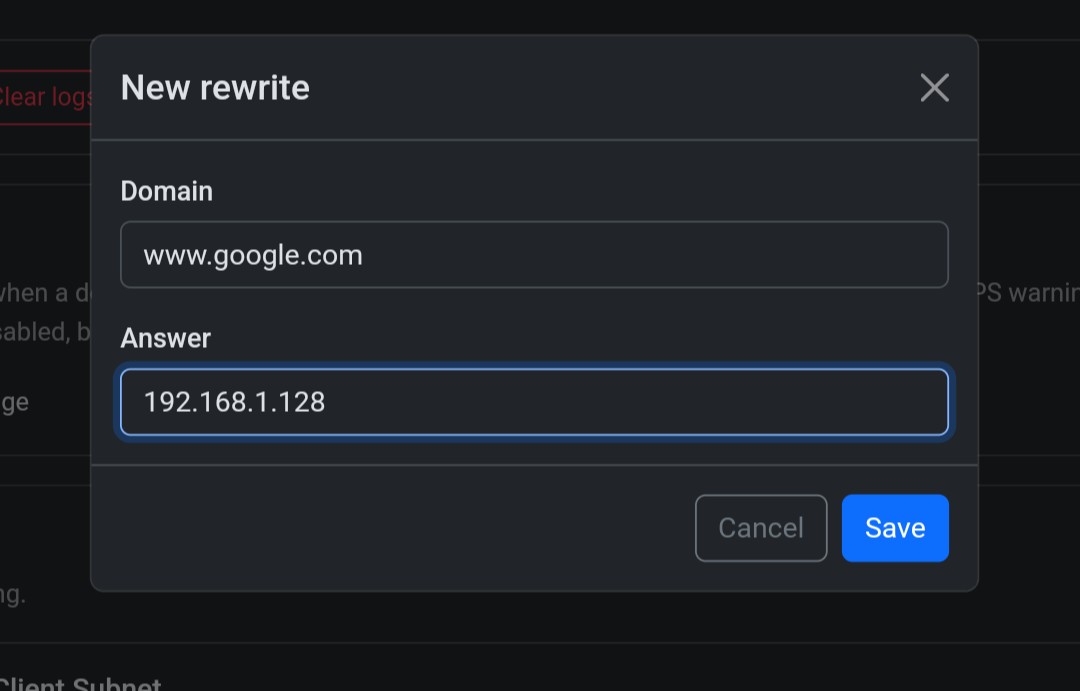
- Go to Settings tab in your NextDNS dashboard and click on New Rewrite under DNS Rewrites.
- Enter
www.google.comas domain and your server's IP as answer (e.g192.168.1.128) - DNS rewrite has been set successfully, now wait a few minutes for the existing DNS cache to get flushed before opening Google.
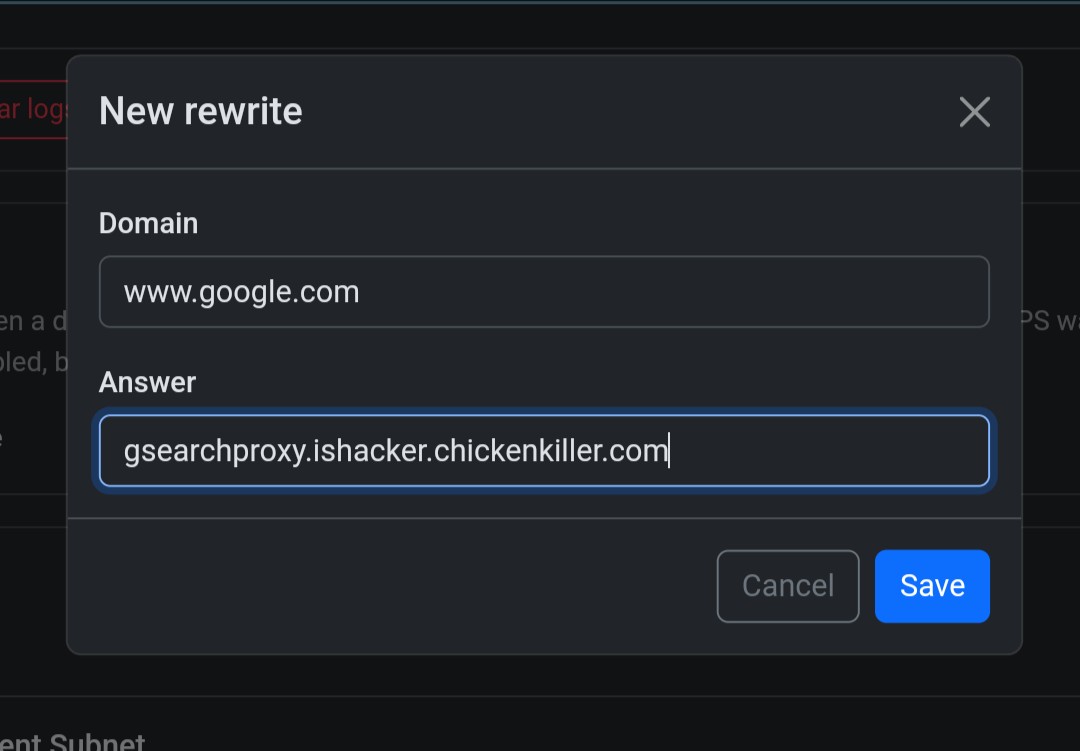
NOTE: You can create multiple rewrites for the same domain with different answers. So, you can create another rewrite with your server's IPv6 address as answer.
If your server's IP keeps changing (e.g for IPv6), you can set up DDNS on your server and use your DDNS domain as the answer for the rewrite. Afraid.org offers both IPv4 and IPv6 DDNS.
Just SSH into the Pi to edit your hosts file and add your server's IP for www.google.com.
nano /etc/hosts
Example entries:
192.168.1.128 www.google.com # IPv4
2a02:6ea0:d411:2415::11 www.google.com # IPv6
NOTE: You can also add hosts file entries from the web interface, but directly editing /etc/hosts is much more reliable.
You can't add CNAME entries to the hosts file, unlike NextDNS's rewrites. So you need to add a custom dnsmasq config.
- On the web interface, go to Settings > All settings and change Basic mode toggle to expert mode (if not done already).

- Go to Miscellanious tab and enable
misc.etc_dnsmasq_doption.

-
Click Save Settings.
-
Now SSH into the Pi and create a conf file under
/etc/dnsmasq.d. You can give it any name with the .conf extension at the end.
nano /etc/dnsmasq.d/dns-rewrite-google.conf
- Put this in the file and save it:
cname=www.google.com,<your DDNS domain>
Example:
cname=www.google.com,gsearchproxy.ishacker.chickenkiller.com
-
Now again go to the web interface and restart Pi-hole DNS resolver using the Restart DNS resolver option on the Settings > System page.
-
Pi-hole will now load the config file and the DNS rewrite will be activated.
Since it uses a self-signed certificate (obviously, because no CA would issue certificates for google.com), browsers will give you a warning that the certificate is not recognized, and this might scare some people. To fix this, just import the .cert/cert.pem file from this repo as a certificate in your browser. For Android devices, chrome does not have any option to import a certificate, so you will need to install cert.pem as a "VPN and app certificate" from settings. You can also install it as a CA certificate, but it will constantly show a scary "Certificate authorities installed" notification.
You will need to install the certificate on all devices on your network.