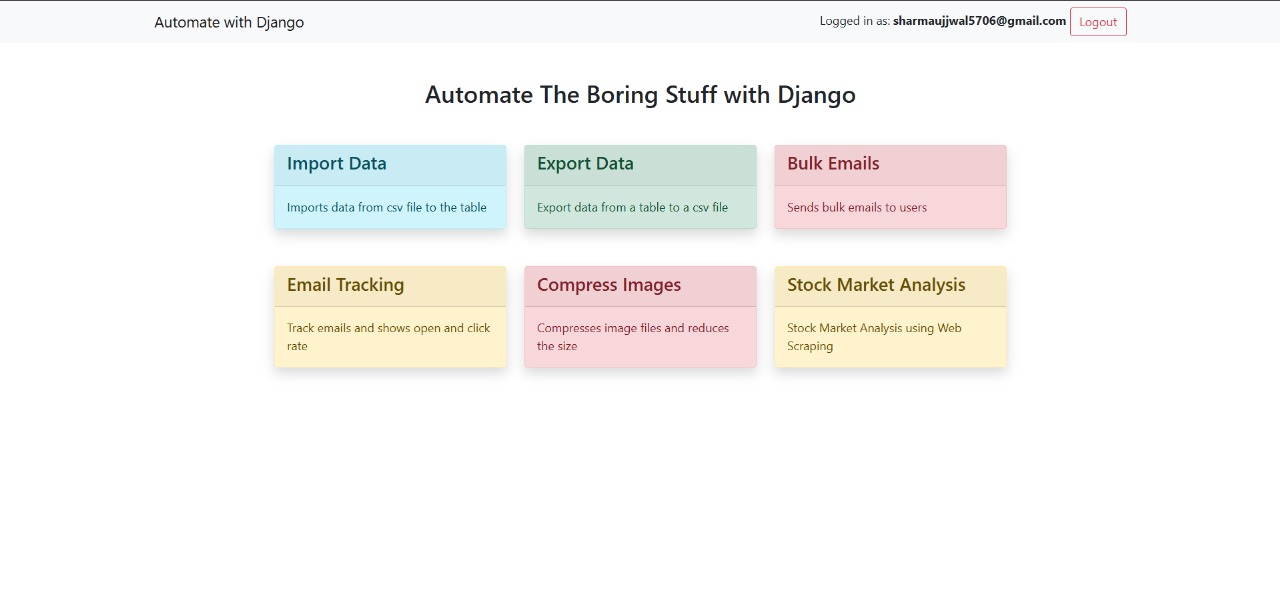
Developed six automation tools using Django. Built a stock market analysis tool, web scraping system, image compression utility, bulk email sender with open/click tracking, and import/export tools. Integrated Celery and Redis for async task handling, used Brevo (Sendinblue) for transactional emails, CKEditor for rich text input. Used Ngrok for local tunneling, processed 1M+ records, and enabled bulk emailing with attachments.
- Python 3.8+
- Git (optional)
- Redis
- Celery
- VS Code (as code editor)
Download and install from: Link
mkdir automate-the-boring-stuff
cd automate-the-boring-stuff

# Create virtual environment
python -m venv env

# Activate it
source env/bin/activate      # macOS/Linux
env\Scripts\activate # Windowspip install djangoAfter writing your models in models.py, run below commands to sync the changes with the database:
python manage.py makemigrations
python manage.py migrate
Create commands in:
your_app/
└── management/
    └── commands/
        ├── importdata.py
        └── exportdata.py
Run with:
python manage.py importdata file_path model_name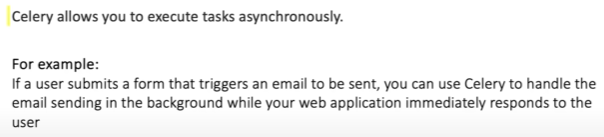
python manage.py exportdata model_nameTo handle large imports asynchronously and improve responsiveness, we use **Celery + Redis**.
pip install celery redisCreate a celery.py in your project root (automate_the_boring_stuff/celery.py) with:
import os

from celery import Celery

# Set the default Django settings module for the 'celery' program.
os.environ.setdefault('DJANGO_SETTINGS_MODULE', 'proj.settings')

app = Celery('proj')

# Using a string here means the worker doesn't have to serialize
# the configuration object to child processes.
# - namespace='CELERY' means all celery-related configuration keys
#   should have a `CELERY_` prefix.
app.config_from_object('django.conf:settings', namespace='CELERY')

# Load task modules from all registered Django apps.
app.autodiscover_tasks()


@app.task(bind=True, ignore_result=True)
def debug_task(self):
    print(f'Request: {self.request!r}')
In __init__.py of the project folder:
# This will make sure the app is always imported when
# Django starts so that shared_task will use this app.
from .celery import app as celery_app

__all__ = ('celery_app',)brew install redis
redis-server
brew services start redisTo verify Redis is running:
brew services listYou should see:
redis (homebrew.mxcl.redis)
Running: ✔
Test with:
redis-cli
127.0.0.1:6379> ping
PONG
Stop Redis:
brew services stop redissudo apt update
sudo apt install redis-tools # for redis-cli
sudo snap install redisEnable Redis on startup:
sudo snap set redis service.start=trueStart Redis server (if using apt):
sudo systemctl start redisStop server:
sudo systemctl stop redisTest:
redis-cli
127.0.0.1:6379> ping
PONGWindows does not officially support Redis. Use the following method. It worked for me :)
Install WSL, then install Redis inside Ubuntu:
Open PowerShell or Windows Command Prompt in administrator mode by right-clicking and selecting "Run as administrator", enter the wsl --install command, then restart your machine. After that use the following command for Redis setup
curl -fsSL https://packages.redis.io/gpg | sudo gpg --dearmor -o /usr/share/keyrings/redis-archive-keyring.gpg
echo "deb [signed-by=/usr/share/keyrings/redis-archive-keyring.gpg] https://packages.redis.io/deb $(lsb_release -cs) main" | sudo tee /etc/apt/sources.list.d/redis.list
sudo apt-get update
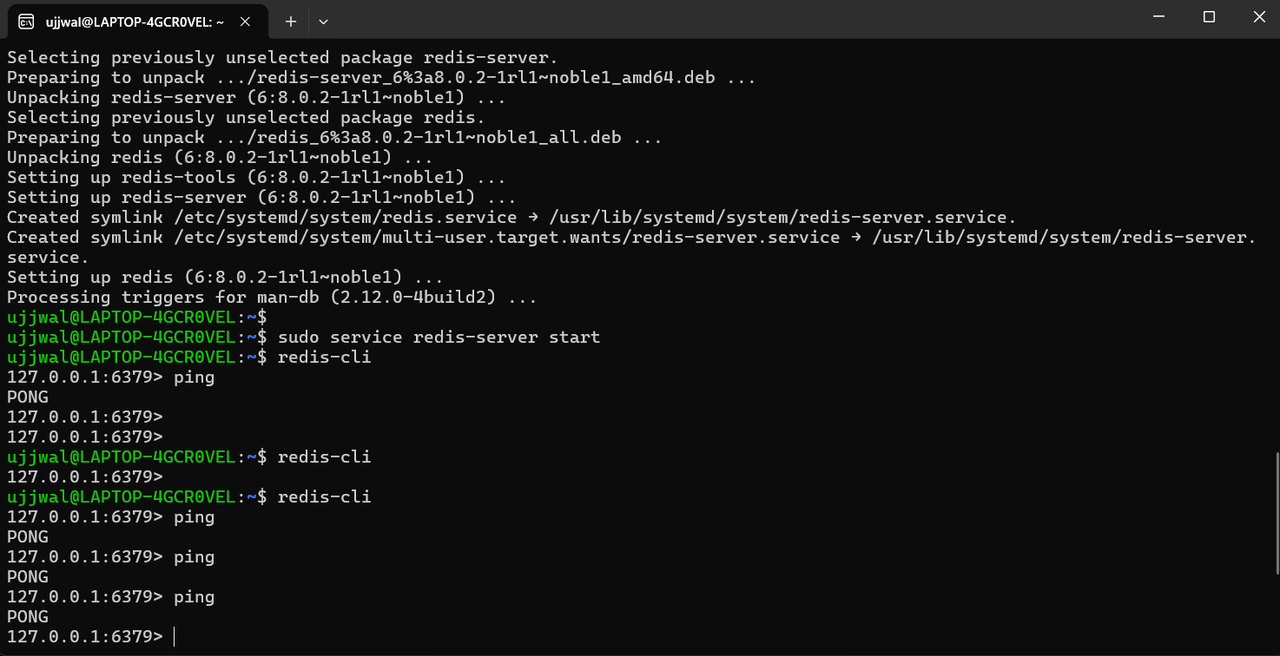
sudo apt-get install redisLastly, start the Redis server like so:
sudo service redis-server startOnce Redis is running, you can test it by running redis-cli:
redis-cliTest the connection with the ping command:
127.0.0.1:6379> ping
PONG
It would look like this :

Below command will work in macOS/Linux only Celery uses prefork by default, which works only on Unix systems.
celery -A automate_the_boring_stuff worker --loglevel=infoOn Windows, you need to explicitly use the solo pool (single-threaded, no multiprocessing)
--pool=solois required for Windows due to lack offork().- solo uses a single thread and avoids these issues but is not suitable for production (only development/testing).
celery -A awd_main worker --loglevel=info --pool=soloNote: Make sure you set the Celery broker url to localhost 6379 in settings.py and redis server is running in background
CELERY_BROKER_URL = 'redis://localhost:6379'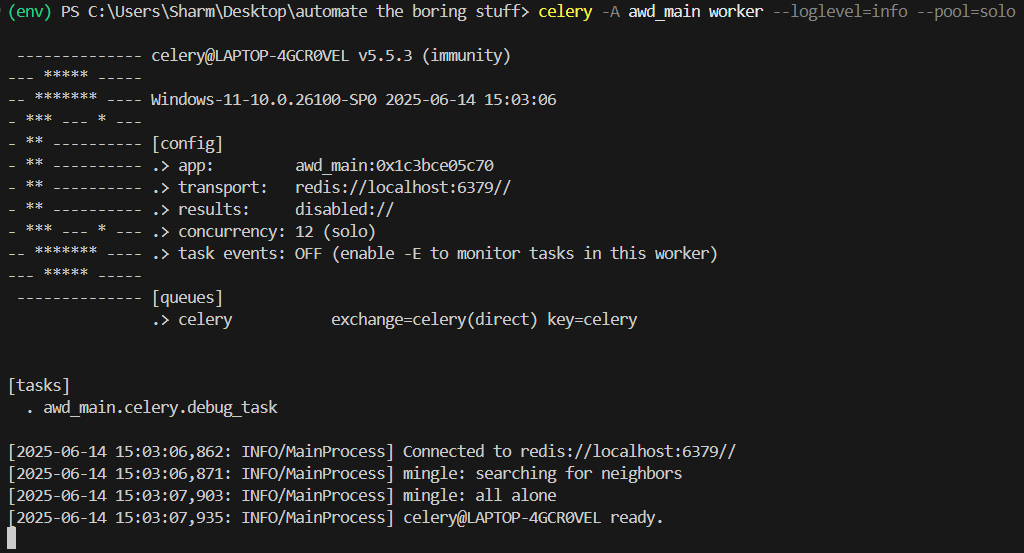
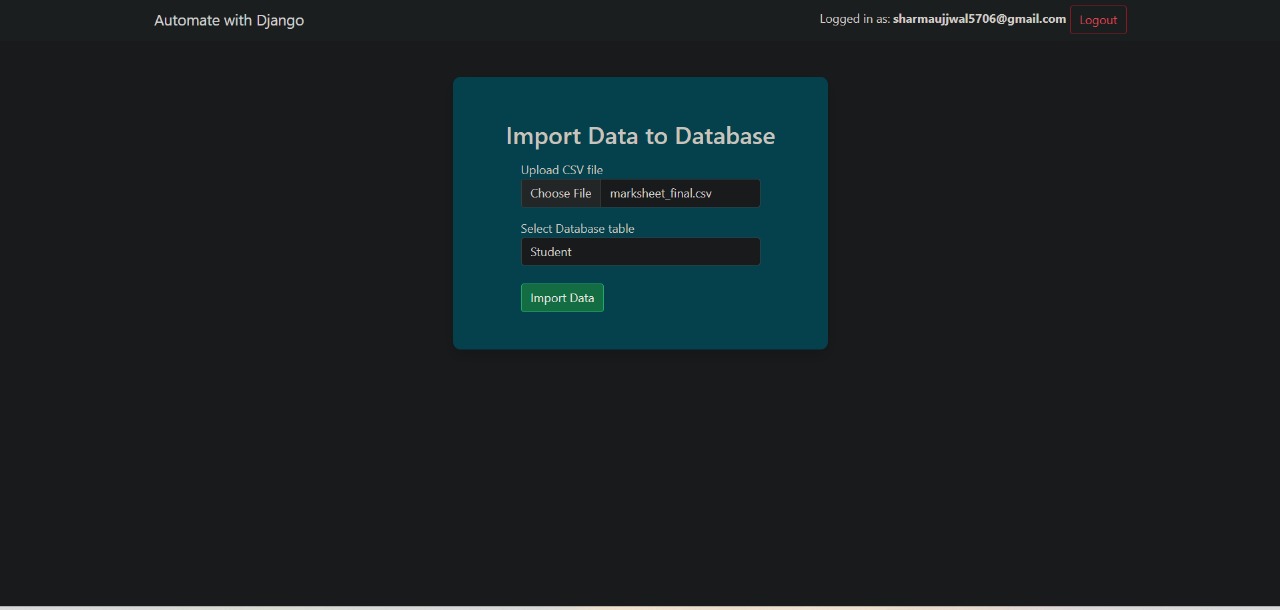
python manage.py importdata file_path moel_name
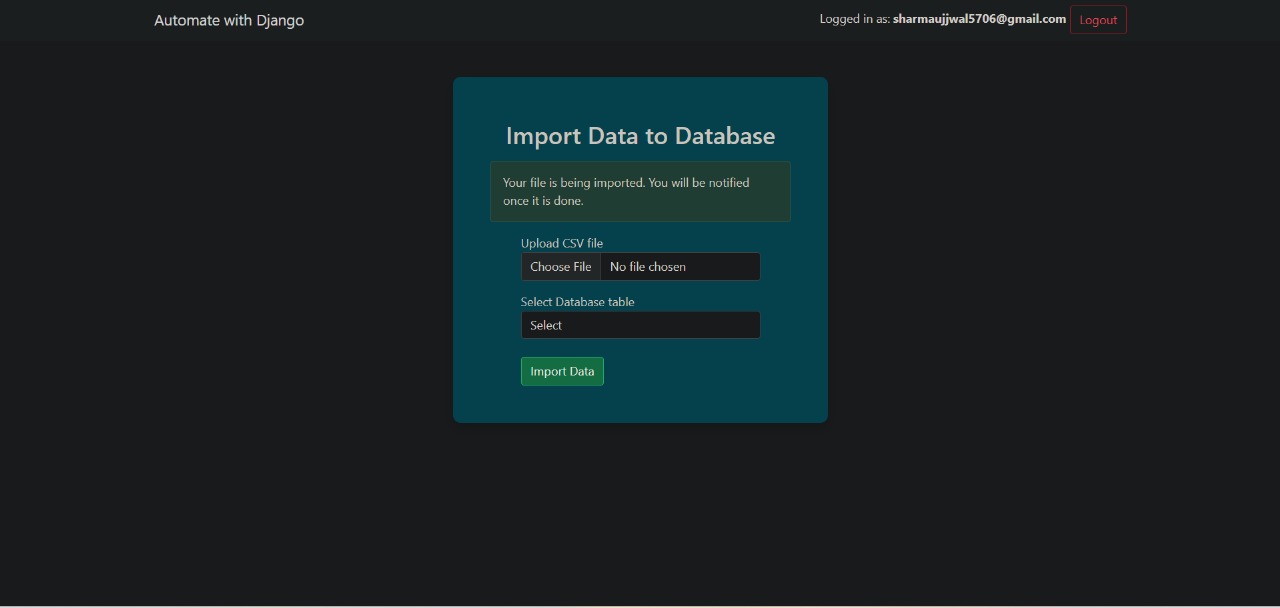
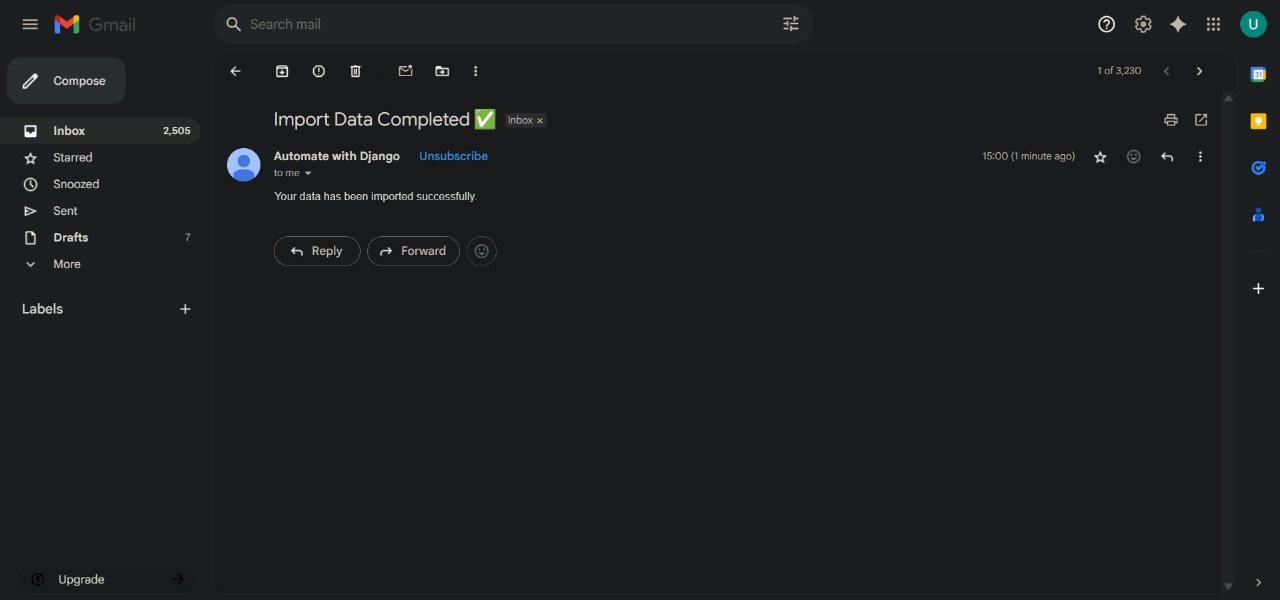
# This triggers the task and Celery handles it in the backgroundAfter a CSV import completes, the user receives an email from the default sender email configured in settings.py.
In your settings.py, add the following and
EMAIL_BACKEND = 'django.core.mail.backends.smtp.EmailBackend'
EMAIL_HOST = 'smtp.gmail.com'
EMAIL_PORT = 587
EMAIL_USE_TLS = True
EMAIL_HOST_USER = 'your_email@gmail.com'
EMAIL_HOST_PASSWORD = 'your_app_password'
DEFAULT_FROM_EMAIL = EMAIL_HOST_USER
If using Gmail, enable 2FA and use an App Password instead of your actual account password.
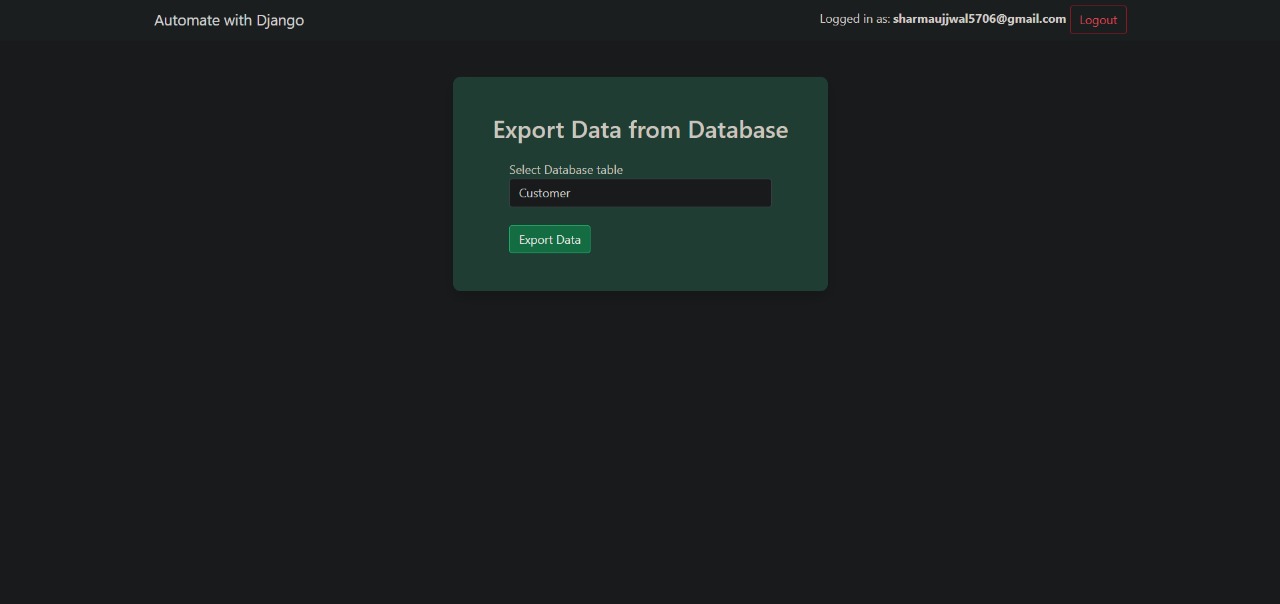
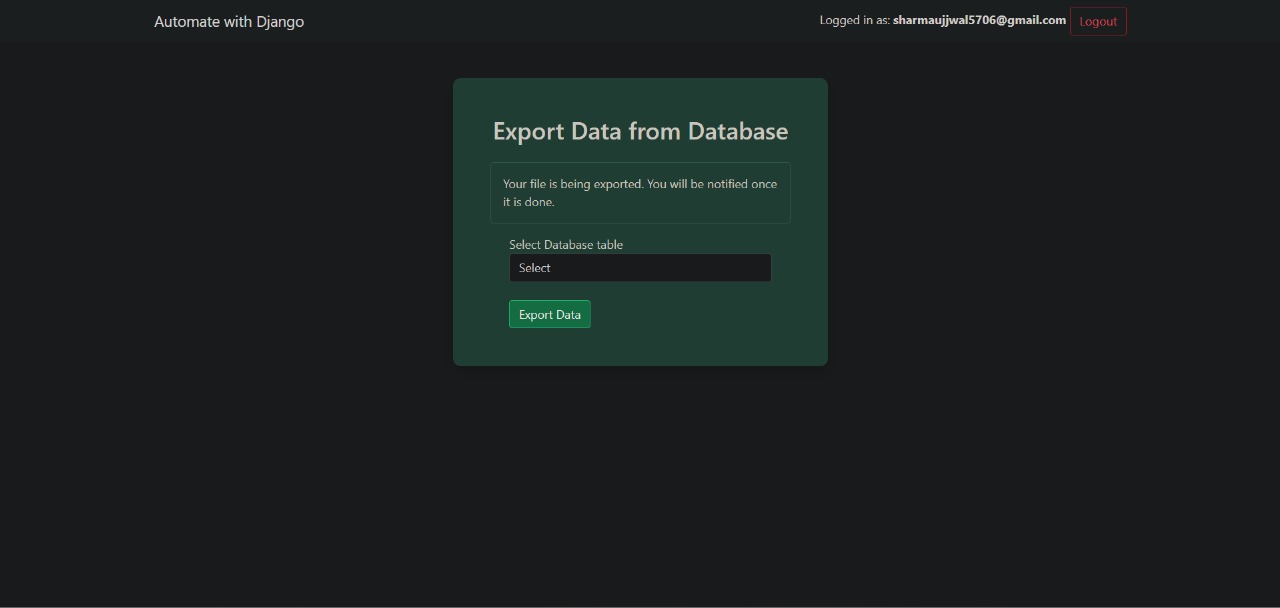
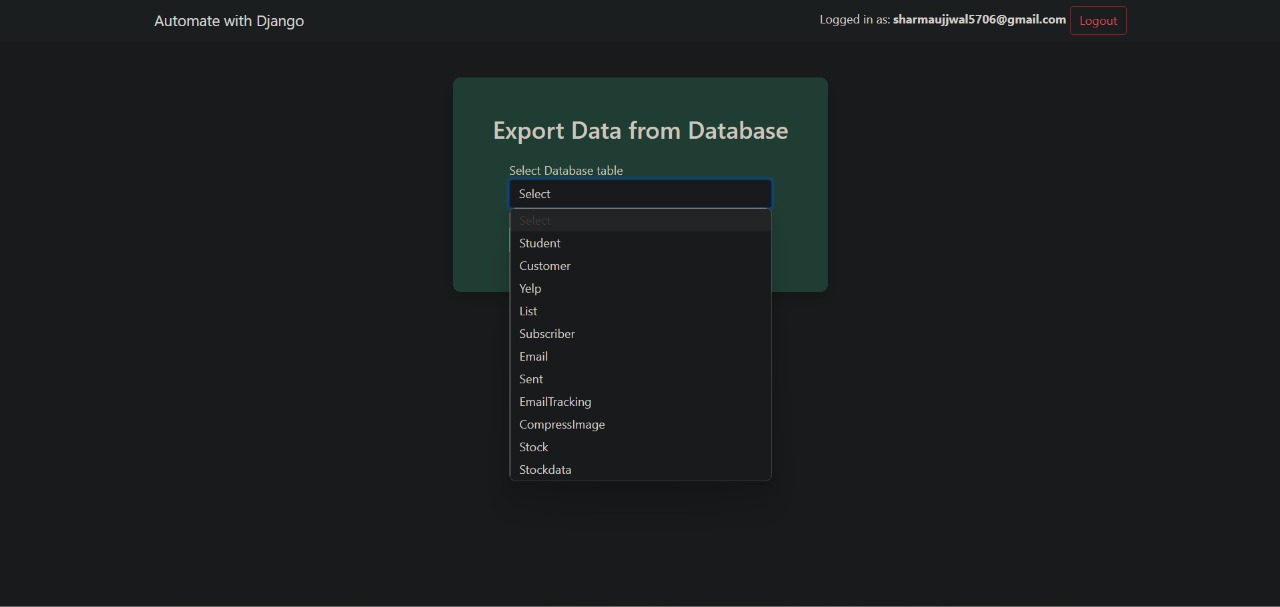
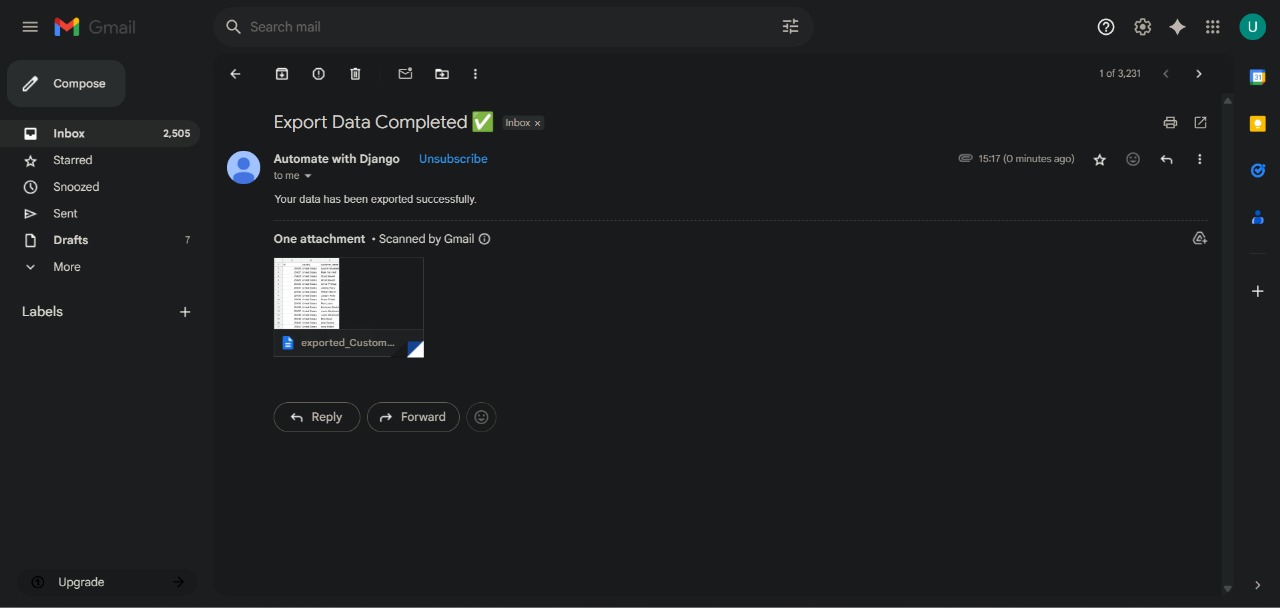
This feature allows users to export data from the database and receive it via email with the exported file attached.
- When a user initiates an export, the task runs asynchronously using Celery to avoid blocking the application in case millions of rows a re present.
- Once the export is complete, a CSV file containing the exported data is generated.
- The system automatically sends an email to the user with the CSV file attached.
- This ensures a smooth user experience where data is delivered reliably without manual download steps.
Ideal for large exports, background processing, and improving user efficiency.
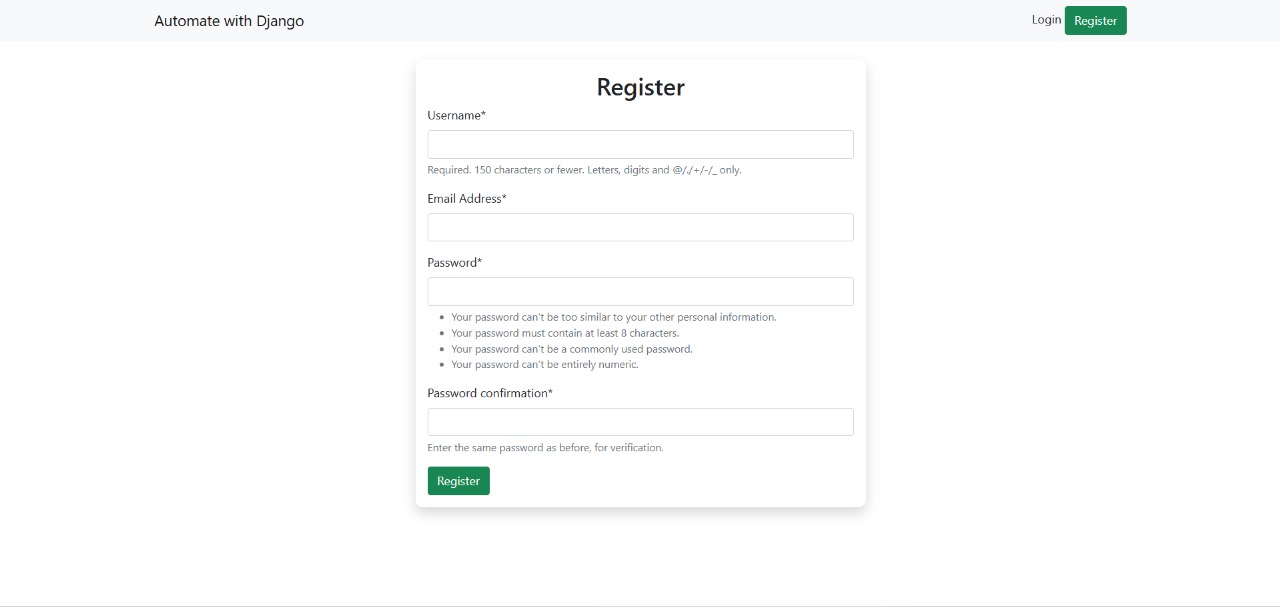
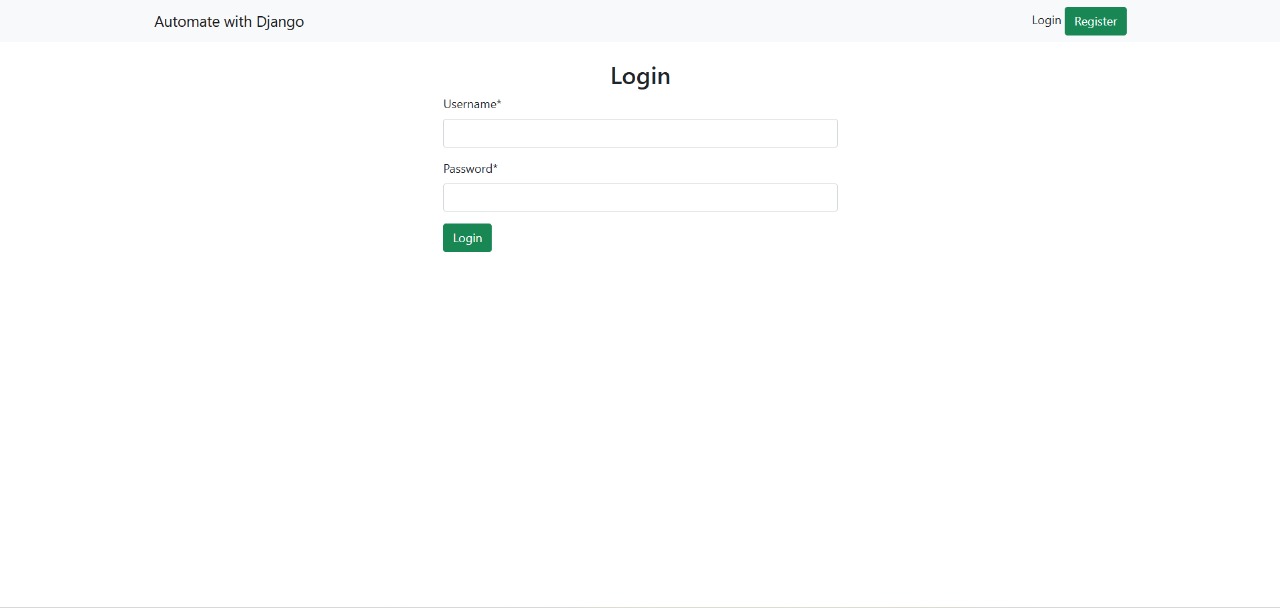
The project includes a fully functional user registration and login system built using Django's authentication framework and Crispy Forms for styling.
- Users can register with an email and password.
- Registered users can log in securely to access authenticated parts of the site.
- All forms are styled using Django Crispy Forms, providing a clean and responsive UI without writing custom HTML or CSS.
- Feedback is provided via form validation errors and success messages.
This ensures a smooth and user-friendly authentication experience.
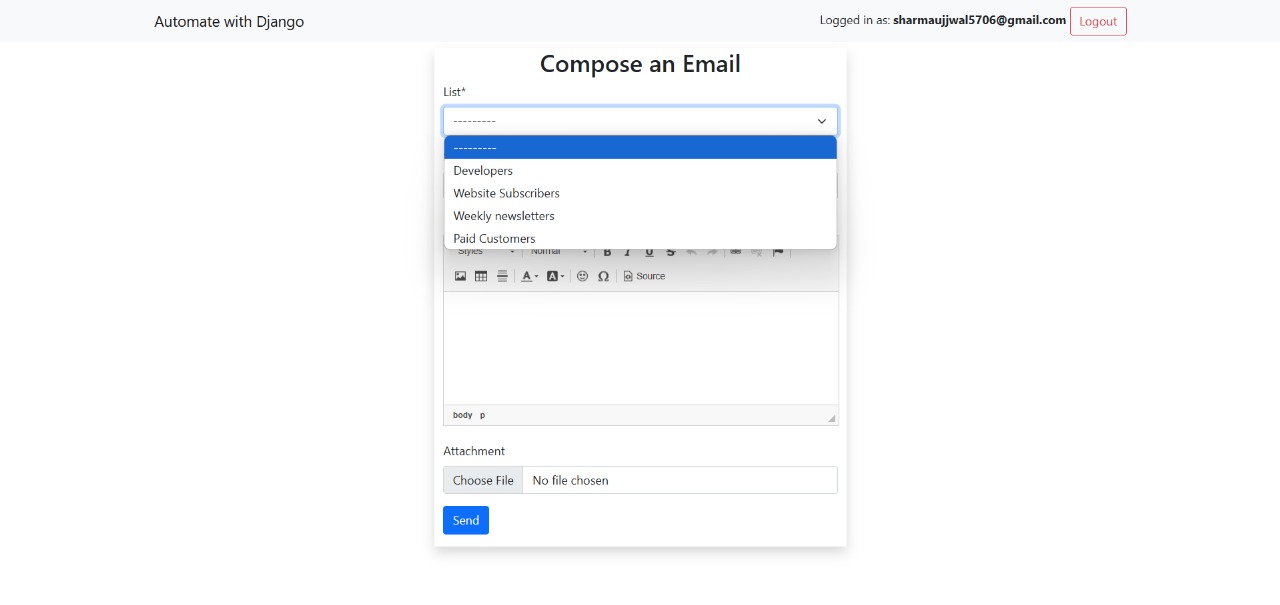
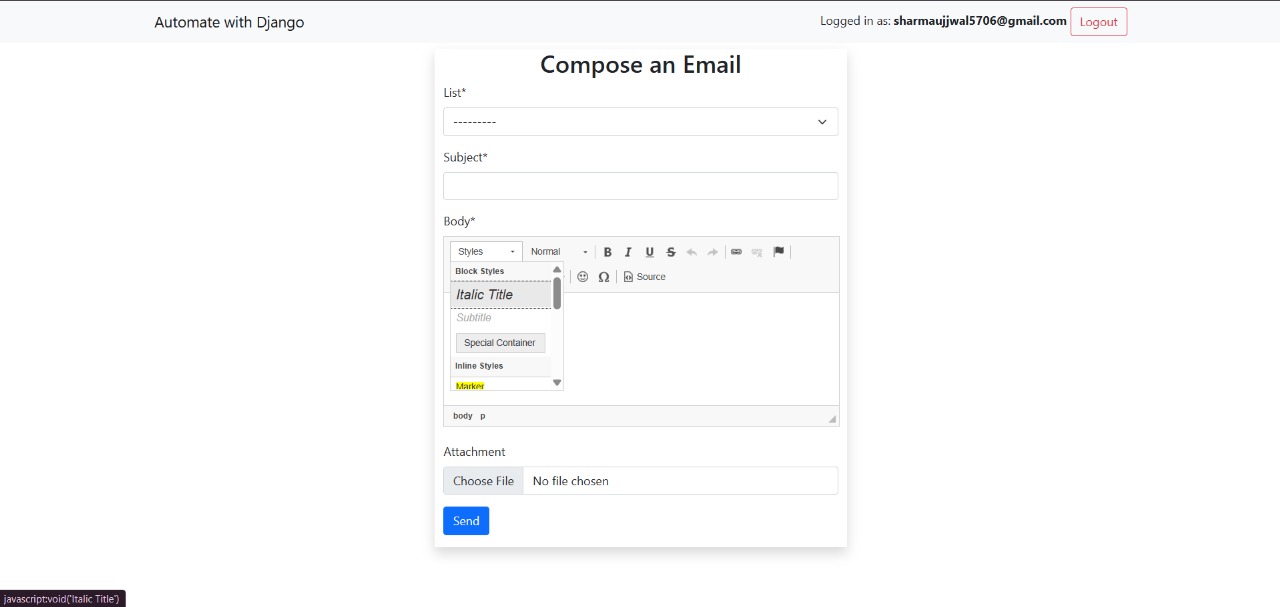
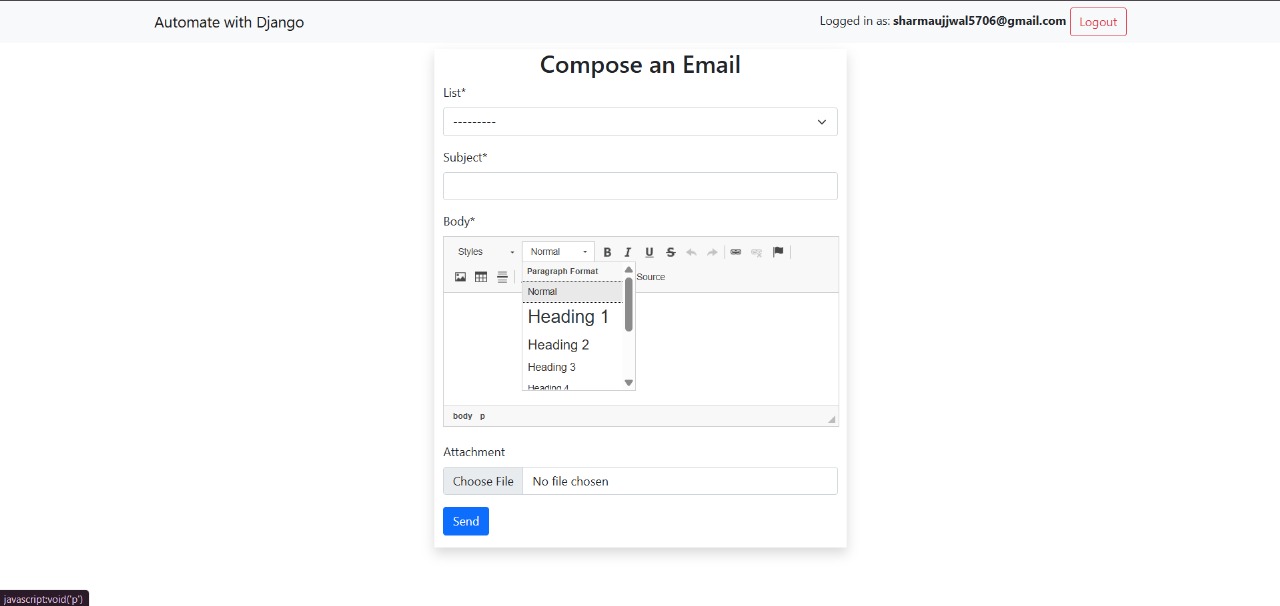
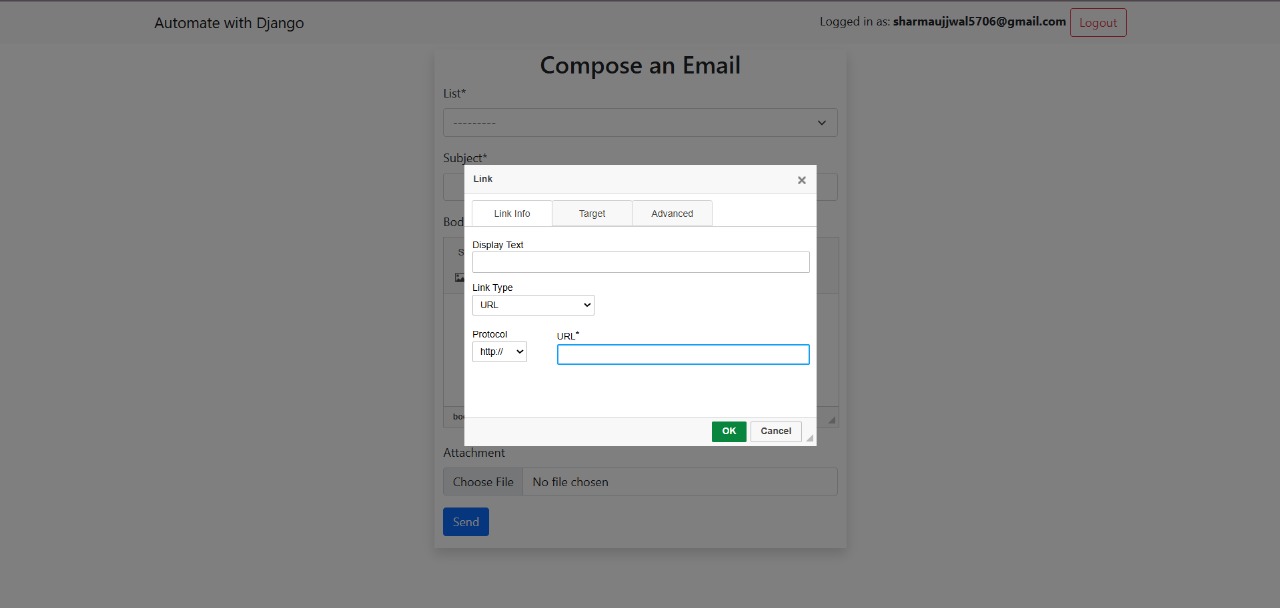
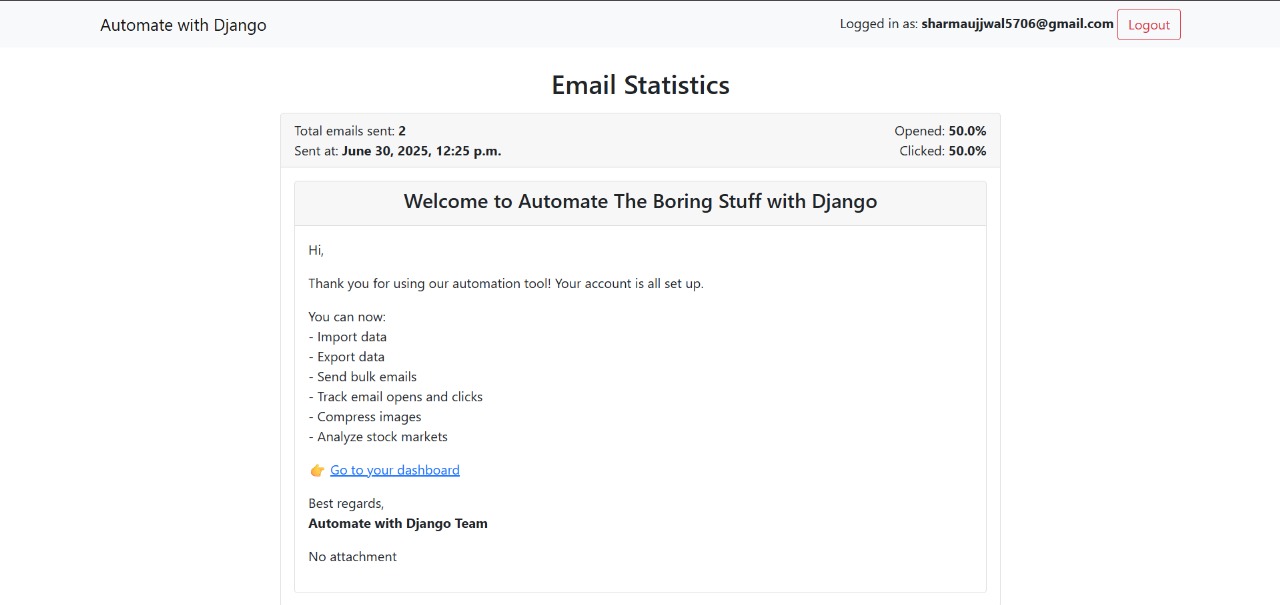
This feature allows users to send rich, formatted emails to multiple recipients at once.
- Users can compose emails using CKEditor, a WYSIWYG HTML editor integrated into the Django form.
- The message supports styling, images, links, and rich formatting.
- On submission, the email is sent to a list of recipients using Sendinblue (Brevo) as the email backend.
- All emails are sent in bulk with a single click, improving efficiency when communicating with many users.
Ideal for newsletters, announcements, or batch notifications with clean formatting.

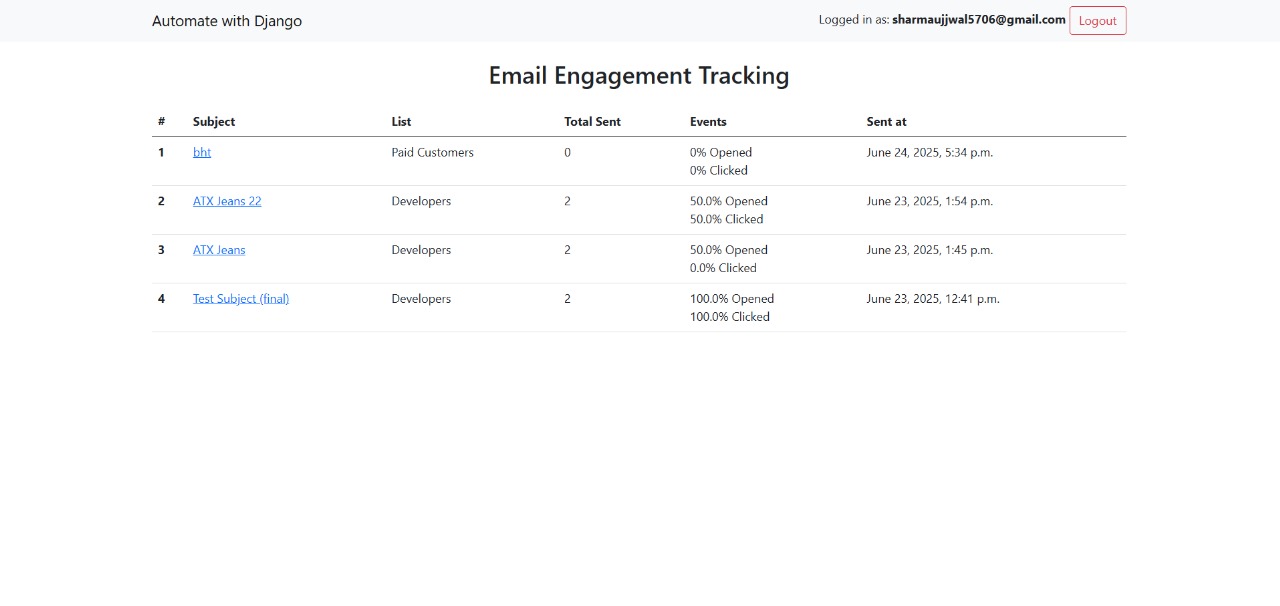
To test email open and click tracking on a local development server, Ngrok is integrated.
- Email clients cannot load tracking pixels or links from
localhost. - Ngrok exposes your local Django server over the internet using a secure public URL (e.g.,
https://random-id.ngrok.io).
- Ngrok is started on your local Django server port (usually 8000).
- The public Ngrok URL is used in:
- Tracking pixel URLs (
/emails/track/open/) - Click tracking links (
/emails/track/click/)
- Tracking pixel URLs (
- This makes it possible to test email interactions from real email clients like Gmail or Outlook during development.
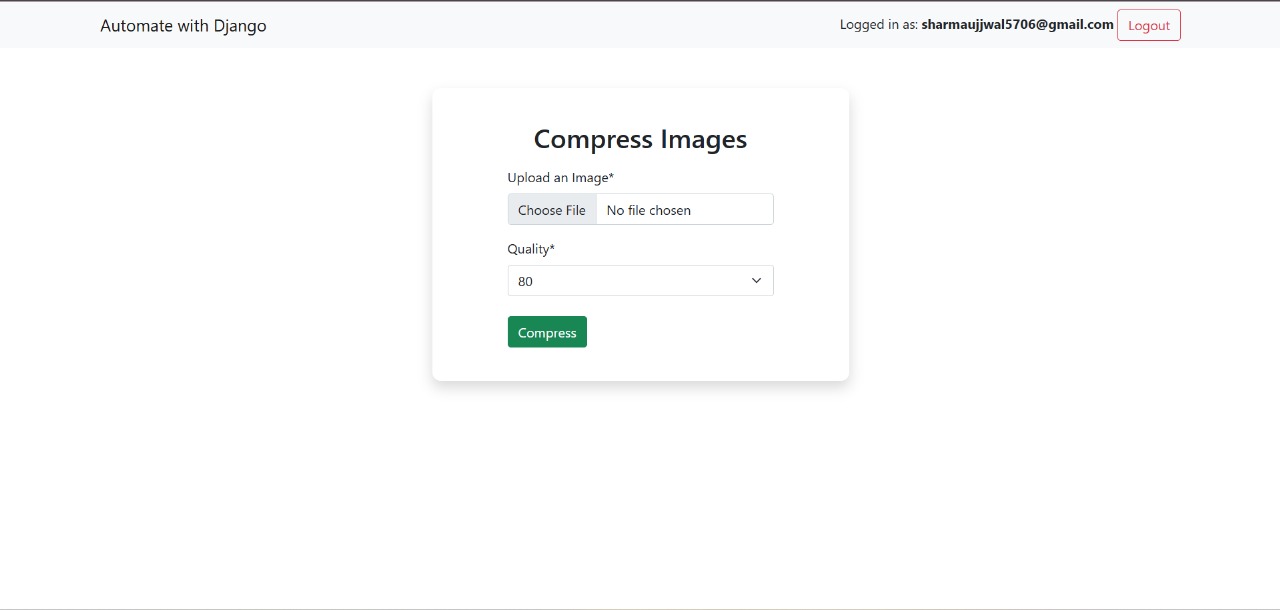
This feature allows users to upload and compress image files directly from the browser.
- Users upload an image and select a desired quality level.
- The backend uses Pillow (PIL) to:
- Open and convert the image to JPEG.
- Compress the image based on the selected quality.
- Save the compressed version associated with the logged-in user.
- After compression, the image is automatically downloaded to the user's device.
Great for reducing file sizes before sharing or uploading images elsewhere.
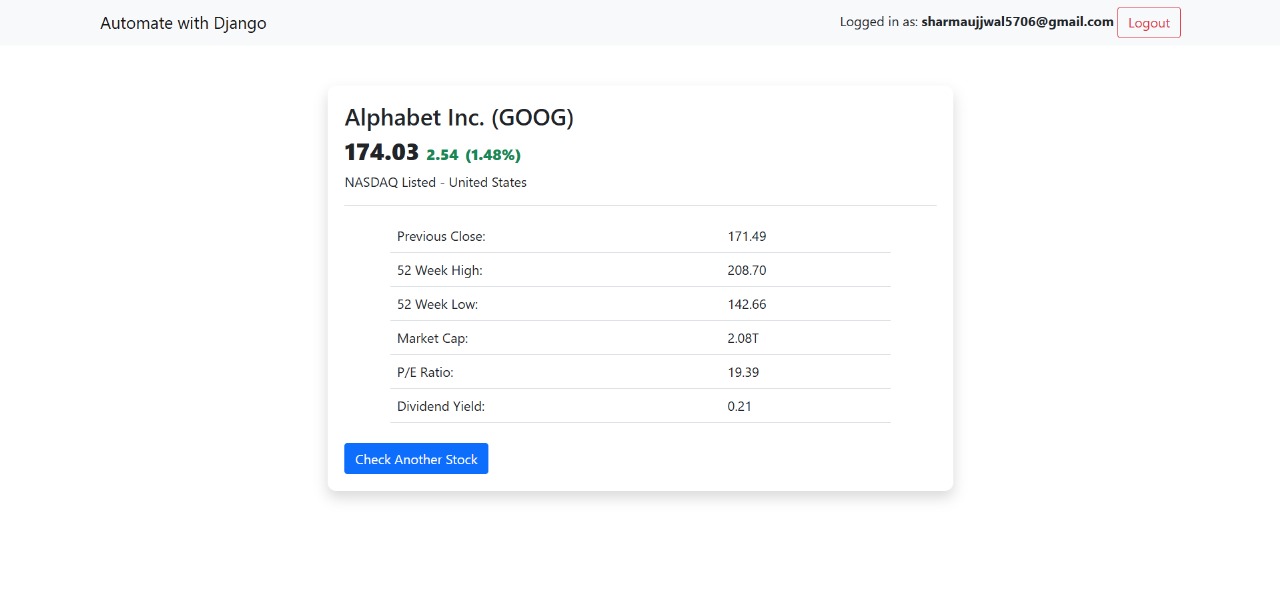
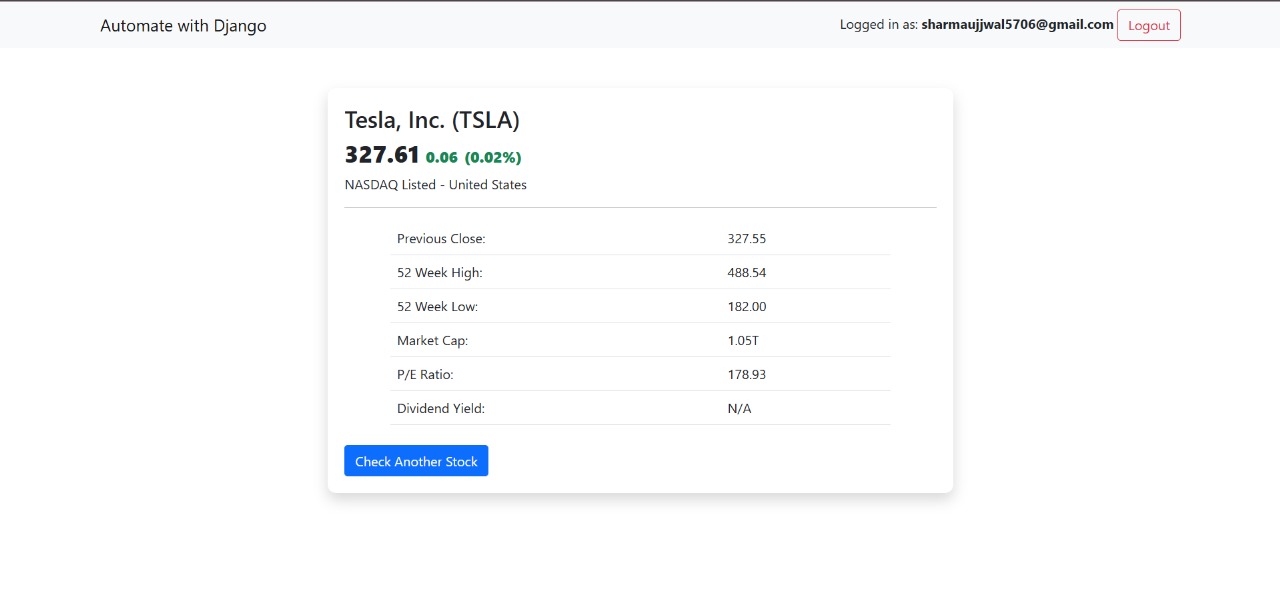
This feature scrapes real-time stock data from the MarketWatch website using requests and BeautifulSoup.
- The user provides a stock symbol (e.g.,
AAPLorRELIANCE). - Based on the selected exchange (NASDAQ or NSE), the system builds the correct URL:
https://www.marketwatch.com/investing/stock/<SYMBOL>for NASDAQhttps://www.marketwatch.com/investing/stock/<SYMBOL>.NSfor NSE
- The backend sends a request to MarketWatch and parses the HTML response to extract:
- Current Price – The latest traded price of the stock.
- Previous Close – The closing price from the previous trading day.
- Price Change – The difference between the current and previous price.
- Percent Change – The percentage gain or loss in price.
- 52-Week Low – The lowest price in the past year.
- 52-Week High – The highest price in the past year.
- Market Cap – The total market capitalization of the company.
- P/E Ratio – Price-to-Earnings ratio based on recent earnings.
- Dividend Yield – The dividend yield percentage for the stock.
requests– to fetch the web pageBeautifulSoup– to parse HTML and extract data- Clean error handling for invalid symbols or network issues
Useful for integrating live stock insights into dashboards, alerts, or investment tools.

Thank you for checking out this project!
Feel free to contribute, open issues, or suggest improvements.