
Yeoman generator for template from https://github.com/dev-experience/xapi-roomkit-macro-debugging.
Repository template for xAPI` Room Kit Macros.
If you are developing xAPI Macros, this is for you (see "Problem statement" below).
-
Install Node.js and NPM.
-
Install Visual Studio Code with JavaScript support.
-
Install Yeoman globally:
Run
npm install -g yo. -
Install the template globally:
Run
npm install -g generator-xapi-roomkit-macro-debugging. -
Create an empty directory.
-
Scaffold a template into that directory.
- Switch to the directory.
- Run
yo xapi-roomkit-macro-debugging.
-
Check out README.md or see the docs below.
-
Try to debug sample macro:
- Open the directory in Visual Studio Code.
- Set URL and credentials for your device in the
.envfile. - Open the
macros/1-showVolume.js. - Press 'F5'.
- Check the output in "Debug Console".
-
To create your own macro, make a copy of the
macros/0-emptyMacro.js.
Repository template is helpful for developing and debugging your macros.
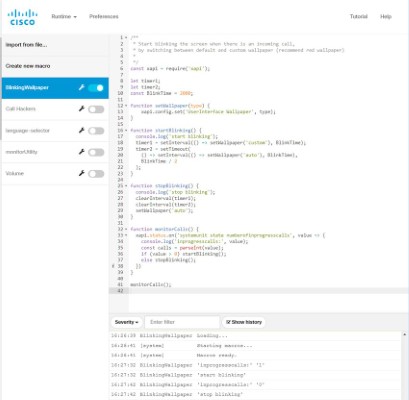
It's quite hard to write a good macro for a Cisco Room Kit CE device.
- You need to log in to the device and write your code in the browser.
- CE Macro Editor is too simple.
- It doesn't provide you any debugging capabilities.
- It's complaining about
async/awaitand confusing you with errors. - You need to copy-paste the code all the time to store it as a file and commit your macros to Git repository.
Just use the Yeoman generator generator-xapi-roomkit-macro-debugging.
And you will be able to:
-
Keep your macros in files. It makes easy to commit your changes to GIT for change history.

-
Run your macros from your local machine in Visual Studio Code.
-
Use code completion for JavaScript in Visual Studio Code.
-
Debug your macros:
- Step-by-step execution.
- Observe current variable values.
- Put a breakpoint to stop the execution and to see what is going on.
-
Use
awaitfor promises to simplify your code.
-
Install Visual Studio Code with JavaScript support:
 Visual Studio Code
 -
Install Node.js with NPM:


-
Prepare files (or use Yeoman template, see above):
- Create empty directory.
- Copy all the files from current repository there.
-
Run
npm installin the directory (only once).
-
Open the directory in Visual Studio Code.
-
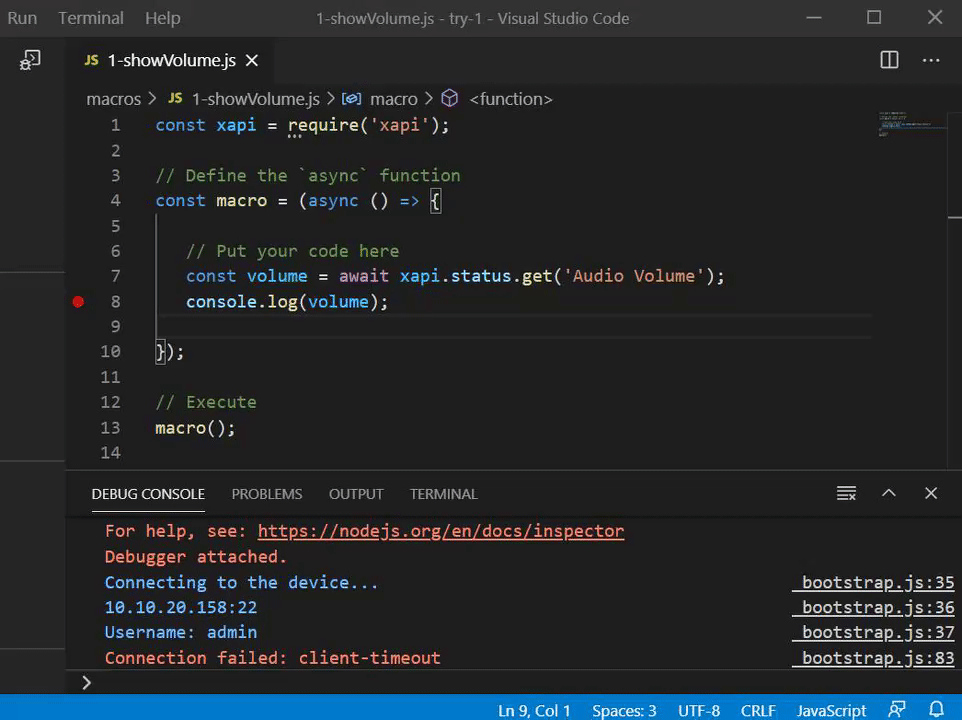
Open sample macro 'https://raw.githubusercontent.com/dev-experience/generator-xapi-roomkit-macro-debugging/v0.2.0/macros/1-showVolume.js'.
-
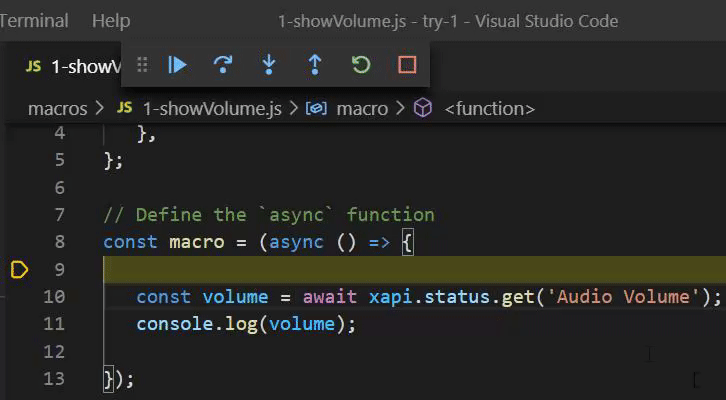
Put a breakpoint on any
console.log(...)statement by pressing 'F9'.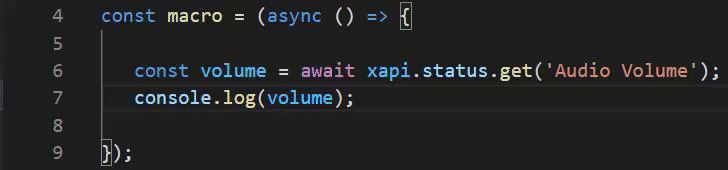
-
Run debugging by pressing 'F5' while you are in the tab with a macro you want to debug
- Visual Studio Code will run special script '_bootstrap.js' by
node. - Script will load
xapiand will check environment variables required to connect to the device to execute macro. - Script will load you macro and run it.
- All output from the macro will be visible in Debug Console in Visual Studio Code.
- Visual Studio Code will run special script '_bootstrap.js' by
-
Enjoy the debugging with:
-
Step-by-step execution (press 'F10' to advance), watching variable values (hover a variable by mouse).
-
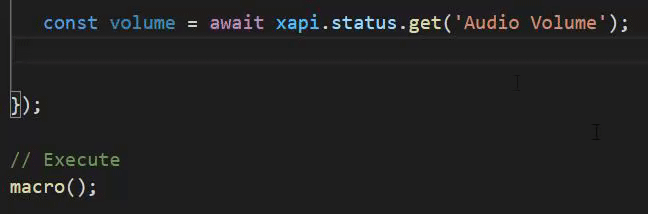
Simple promises handling with
awaitand without.then():const volume = await xapi.status.get('Audio Volume'); const nbActiveCalls = await xapi.status.get('SystemUnit State NumberOfActiveCalls'); const doNotDisturbStatus = await xapi.status.get('Conference DoNotDisturb'); const tandbyState = await xapi.status.get('Standby State'); const peopleCount = await xapi.status.get('RoomAnalytics PeopleCount Current');
instead of
xapi.status.get('Audio Volume').then(volume => {
  xapi.status.get('SystemUnit State NumberOfActiveCalls').then(nbActiveCalls => {
    xapi.status.get('Conference DoNotDisturb').then(doNotDisturbStatus => {
      xapi.status.get('Standby State').then(tandbyState => {
        xapi.status.get('RoomAnalytics PeopleCount Current').then(peopleCount => {
          // ...
        });
      });
    });
  });
});
-
Check out a mini-course "Writing xAPI Macros 101" on YouTube:
[Playlist] [Presentation]
[Playlist]
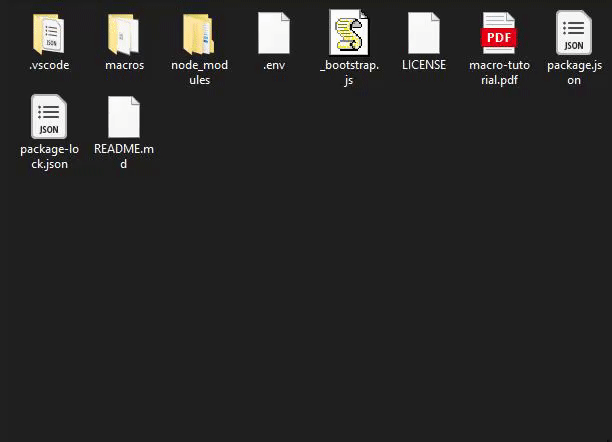
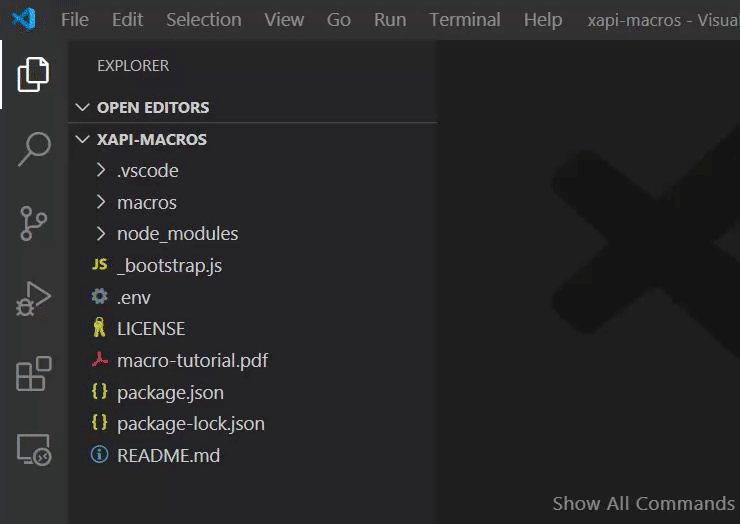
Template files (see)
-
Current docs.
-
Metadata and dependencies definition. Run
npm installonce to installjsxapi. -
Excludes particular files and directories from GIT commits. Help to make your repository clean and tidy.
-
Launch configuration for Visual Studio Code. Enables debugging by 'F5'
-
Script which is being executed when you press 'F5'.
Helps to load
xapi, check environment variables, connects to the device, loads the macro for debugging -
Helps you to set device URL, username, and password to connect to the device. File is added to
.gitignore, so you will not accidentially commit the password to a GIT repository. -
Put all your macros there
-
Sample macro to check out debugging capabilities.
-
Copy this one to create your new macro.
-
-
Documentation files.
-
Cisco Macro Scripting Tutorial.
-
Handy samples for xAPI Macros
https://developer.cisco.com/codeexchange/github/repo/CiscoDevNet/xapi-samples
-
New to xAPI Macros?
- Check the QuickStart Guide to learn to load Controls and Macros to your device.
- Take a DevNet Tutorial from the xAPI track (intro to xAPI and creating custom UI Extensions).
-
Don't have a CE device at hand to mess up with?
- Reserve a DevNet sandbox equiped with CE latest.
-
Going further
Once you're done browsing the examples in this repo, here are a few suggestions
- Check the official Macro Samples repository.
- Load the Postman collection for xAPI to invoke the xAPI from code external to the Room Device.
- Read through the full CE Customization PDF Guide.
- Check for the curated list of resources at awesome-xapi.
