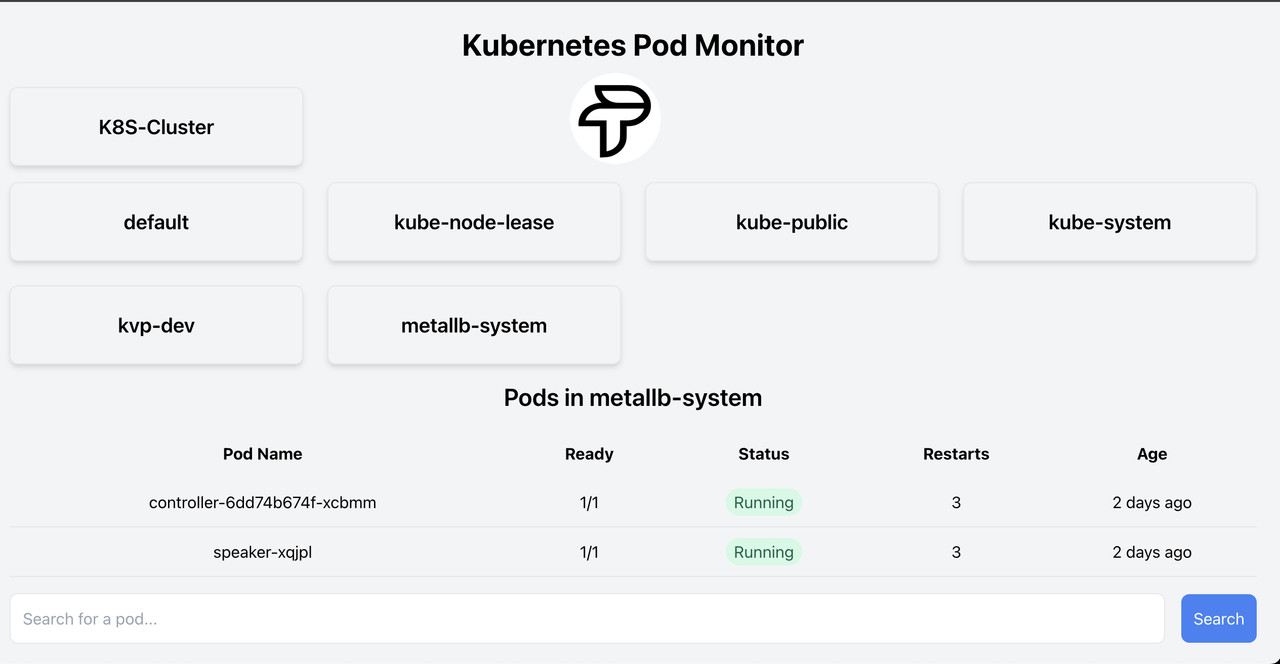
This project is a Kubernetes Pod Monitor that allows you to view the status of pods in different namespaces within a cluster with read-only permissions.
- Node.js
- npm
- Kubernetes cluster
- kubectl configured to access your cluster
git clone https://github.com/puskartrital/kvp-devs.git
cd kvp-devsCreate a service account with read-only access to the pods in your cluster:
cat <<EOF | kubectl apply -f -
apiVersion: v1
kind: ServiceAccount
metadata:
  name: read-only-sa
  namespace: kube-system
---
apiVersion: rbac.authorization.k8s.io/v1
kind: ClusterRole
metadata:
  name: read-only-role
rules:
- apiGroups: [""]
  resources: ["pods"]
  verbs: ["get", "list", "watch"]
---
apiVersion: rbac.authorization.k8s.io/v1
kind: ClusterRoleBinding
metadata:
  name: read-only-sa-binding
subjects:
- kind: ServiceAccount
  name: read-only-sa
  namespace: kube-system
roleRef:
  kind: ClusterRole
  name: read-only-role
  apiGroup: rbac.authorization.k8s.io
EOFRetrieve the token for the service account:
kubectl create token read-only-sa -n kube-systemCreate a .env file in the project root with the following content:
kubectl cluster-info | grep 'Kubernetes control plane' | cut -d ' ' -f 7cat <<EOF > .env
K8S_API_SERVER="output of the step 5 (#d3drt678) command"
K8S_TOKEN="output of the step 3 (#a3f84jy45) command"
K8S_CA_CERT_PATH="/path/to/your/ca.crt"
PORT=3000
EOFReplace YOUR_SERVICE_ACCOUNT_TOKEN with the token retrieved in the previous step and /path/to/your/ca.crt with the path to your Kubernetes cluster's CA certificate.
npm installnpm install
node server.jsThe server will start on the port specified in the .env file (default is 3000).
Navigate to the frontend directory and start the frontend:
cd frontend
npm install
npm start
The frontend will start on http://localhost:3001. Port 3000 is being used by backend node adjust as per your requirements.
In the project directory, you can run:
Runs the app in the development mode.
Open http://localhost:3000 to view it in your browser.
The page will reload when you make changes.
You may also see any lint errors in the console.
Launches the test runner in the interactive watch mode.
See the section about running tests for more information.
Builds the app for production to the build folder.
It correctly bundles React in production mode and optimizes the build for the best performance.
The build is minified and the filenames include the hashes.
Your app is ready to be deployed!
See the section about deployment for more information.
Note: this is a one-way operation. Once you eject, you can't go back!
If you aren't satisfied with the build tool and configuration choices, you can eject at any time. This command will remove the single build dependency from your project.
Instead, it will copy all the configuration files and the transitive dependencies (webpack, Babel, ESLint, etc) right into your project so you have full control over them. All of the commands except eject will still work, but they will point to the copied scripts so you can tweak them. At this point you're on your own.
You don't have to ever use eject. The curated feature set is suitable for small and middle deployments, and you shouldn't feel obligated to use this feature. However, we understand that this tool wouldn't be useful if you couldn't customize it when you are ready for it.
You can learn more in the Create React App documentation.
To learn React, check out the React documentation.
This section has moved here: https://facebook.github.io/create-react-app/docs/code-splitting
This section has moved here: https://facebook.github.io/create-react-app/docs/analyzing-the-bundle-size
This section has moved here: https://facebook.github.io/create-react-app/docs/making-a-progressive-web-app
This section has moved here: https://facebook.github.io/create-react-app/docs/advanced-configuration
This section has moved here: https://facebook.github.io/create-react-app/docs/deployment
This section has moved here: https://facebook.github.io/create-react-app/docs/troubleshooting#npm-run-build-fails-to-minify
To configure this application for production with NGINX, follow these steps:
Navigate to the frontend directory and build the frontend:
cd frontend
npm run build
This will create a build directory with the production build of your app.
Install NGINX if it is not already installed:
sudo apt update
sudo apt install nginxCreate an NGINX configuration file for your application:
sudo nano /etc/nginx/sites-available/kvp-devsAdd the following configuration to the file:
server {
    listen 80;
    server_name your_domain_or_ip;

    location / {
        root /path/to/your/project/frontend/build;
        try_files $uri /index.html;
    }

    location /api/ {
        proxy_pass http://localhost:3000/;
        proxy_http_version 1.1;
        proxy_set_header Upgrade $http_upgrade;
        proxy_set_header Connection 'upgrade';
        proxy_set_header Host $host;
        proxy_cache_bypass $http_upgrade;
    }
}
Replace your_domain_or_ip with your domain name or IP address and /path/to/your/project with the path to your project directory.
Enable the new configuration by creating a symbolic link to the sites-enabled directory:
sudo ln -s /etc/nginx/sites-available/kvp-devs /etc/nginx/sites-enabled/Test the NGINX configuration for syntax errors:
sudo nginx -tRestart NGINX to apply the changes:
sudo systemctl restart nginxYour application should now be accessible at your domain or IP address, with NGINX serving the frontend and proxying API requests to the backend.